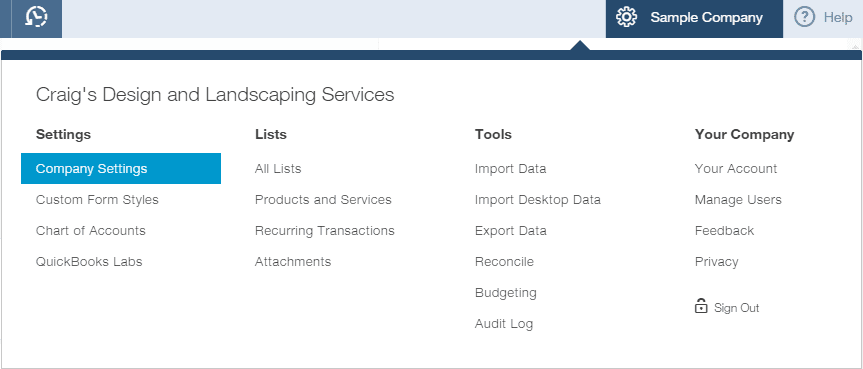
The Class feature is only available in the QuickBooks Online Plus and all QuickBooks desktop versions. If you are using Simple Start or Essentials QuickBooks Online version, then you should upgrade to Plus.
Here are step by step instructions on how to change the company setting to use Class feature in QuickBooks Online.
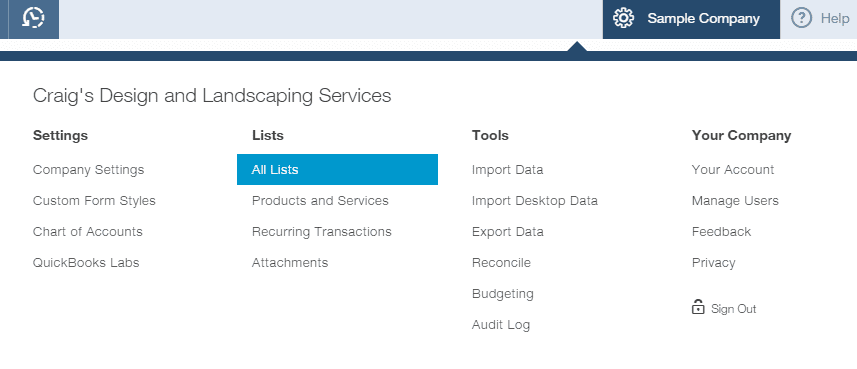
Now go back to the gear on the top right corner and select All Lists

Hope you find this quick guide helpful. Please share your comments and suggestions. If you are using a Simple Start or Essentials QuickBooks Online version, then you should upgrade to Plus. Here are step by step instructions on how to change the company setting to use Class feature in QuickBooks Online.
Click here to learn more about the QuickBooks Online versions comparison chart.